Embedding Pixelfed, part 2
- Published on:
- Last updated on:
- Categories:
- Pixelfed 8, Process 9, Astro 7, IndieWeb 12
- Current music:
- This is The Kit — No Such Thing
- Current drink:
- Sencha tea

- Published:
- on Pixelfed
- Alt:
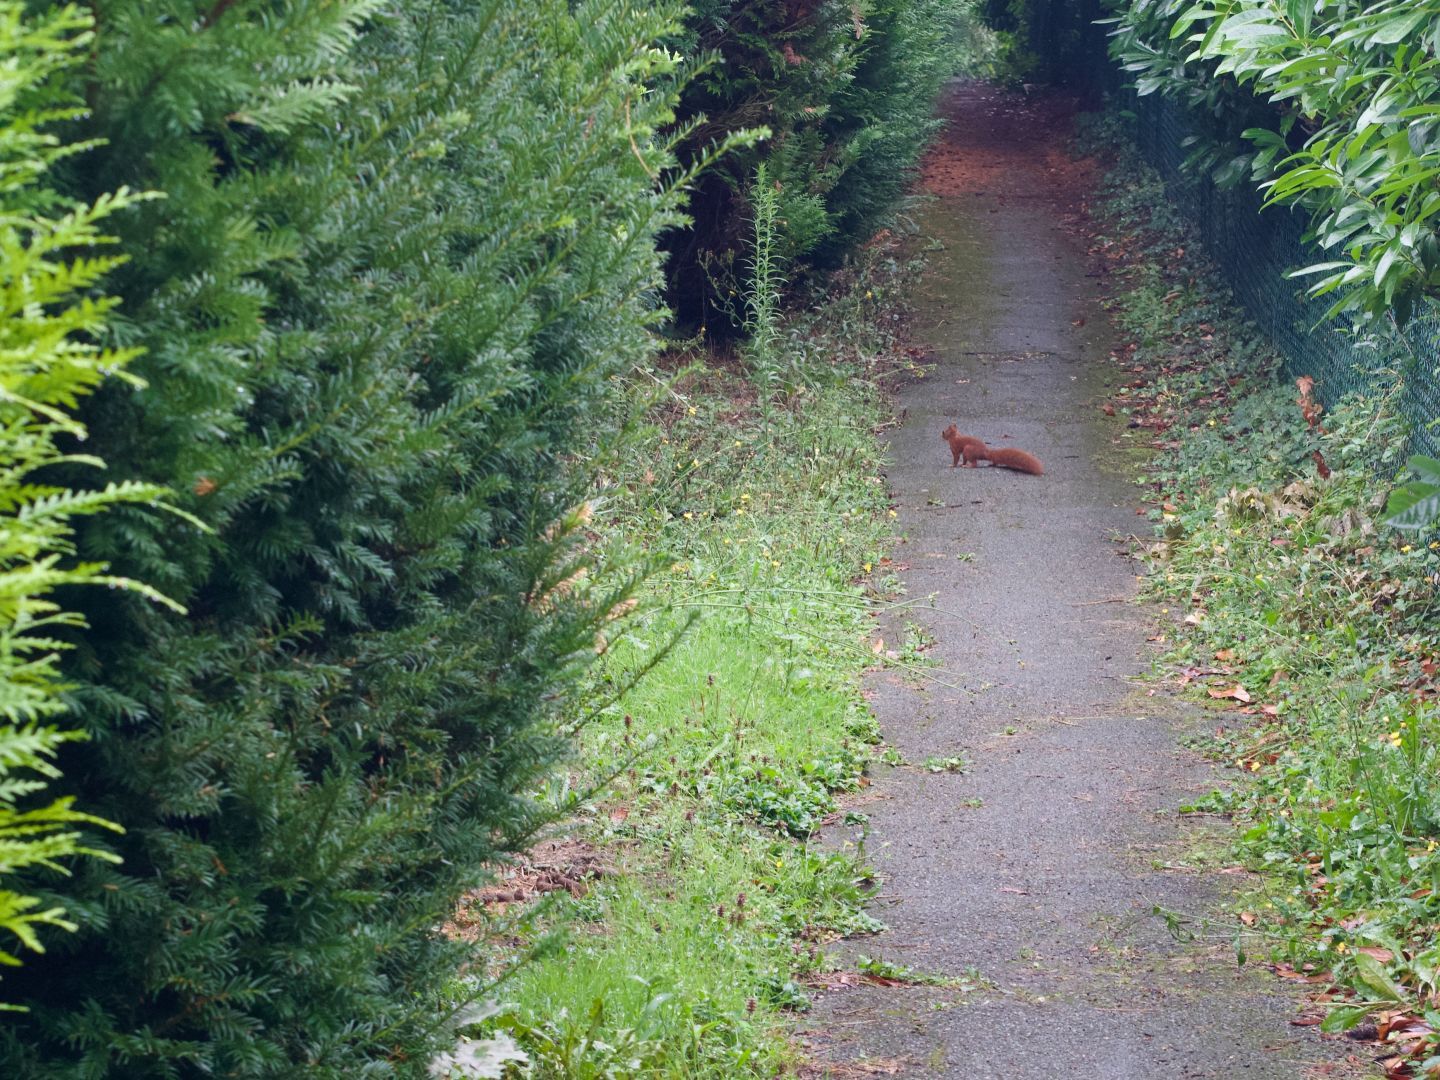
- A photo of a squirrel, standing on a narrow old asphalt pathway, surrounded by vegetation. The squirrel is very brown-red, with a fluffy tail. There is a green grid fence on the right, and a lot of grass, trees, and bushes all around.
- Camera:
- Olympus OM-D E-M5
- Lens:
- Olympus M.Zuiko Digital 45mm f/1.8
Look at this squirrel!
Introduction
Since my last post about this, I did some progress on embedding Pixelfed images in my blog. Here is what I had to write in this post’s markdown to get this photo displayed:
That’s it. You might notice that in the markdown there is no alt provided. But it is still present in the actual HTML, as I am retrieving it from the one I submitted with the photo when uploading it to my Pixelfed instance.
The src for this image in Markdown contains two things: first the lookup string — in this case the post’s ID, and then the index of the image in the post.
There are still many things I want to implement before I could start using this properly, but this seems like a good checkpoint in my work on the feature.
What I Did
Looking at the “Plans” section of my previous post, this one covers most of what I wanted to achieve so far, except for the design/CSS part.
-
For now, I am using the
dotenvNPM package for storing the API token. I know, there is likely a way to do this without depending on a package, but I’m lazy to explore this, ok?Update from 2025-01-24: actually, Astro has build-in support for env variables, so now I’m using it.
-
I implemented fetching and caching the data for my Pixelfed posts. It is likely far from optimal, but it works. I’ll only fetch things when doing local development, then what I receive from the API is saved as
.jsonfiles, one per post, so there won’t be any fetching done neither in the CI nor on the client (aside from the image’ssrc, of course). -
I added a wrapper around the MDX
imgcomponent that checks if it uses the fakepixelfed:protocol in thesrc. If not, it falls back to the original Astro’s Image component, but otherwise it will do everything necessary to get thesrc,alt,width, andheightfor the image from the cached/fetched data. See my “Astro MDX Components” post on how I substitute the built-in HTML tags rendered by MDX with custom Astro components. -
I added some very basic CSS for the photos:
img {
	max-inline-size: 100%;
	height: auto;

	&.photo {
		display: block;
		width: auto;
		max-block-size: min(100vh, 100cqw);
		margin-inline: auto;

		p:has(> &) {
			container-type: inline-size;
		}
	}
}
Nothing special; mostly trying to make images always fit into the viewport, and make it so horizontal and vertical images will have roughly the same area. I will likely redo this, but it works for now.
To Do Next
Here is what I am planning to do next:
-
Come up with the design for a
<figure>around a photo, and for how I want to display its caption. As I wrote in the beginning, I already have thealtcoming from the Pixelfed API, so I am thinking of reusing the markdown’s alt (![this part]()) to provide an additional caption for a photo. -
Find a good way to display a gallery of photos, optionally with the thumbnails and a way to see one in full.
-
Refactor the code behind how I fetch and display the images. Currently, it is a mess. I want it to be less of a mess. When I do so, I might write about what I’m doing here, but I don’t want to share my suboptimal code just yet.
That’s it for now! I have many other ideas as well: somehow getting the Exif metadata from my photos that I have locally, displaying it, and so on. But that’s likely for much further in the future.
Final Words
I am pretty happy with what I did so far, and with what I’m planning to do in the future.
Fun fact: I just ordered a new lens for my camera. I’m a bit frugal with my setup, and rarely buy new stuff in general, but as I managed to do quite a few (for me) photo walks this year, I decided that it might be time to add another lens to my very tiny collection. Maybe one day I’ll write about my setup.
But for now, I’ll need to continue working on an ability to embed photos in this blog, so I could properly share what I capture.